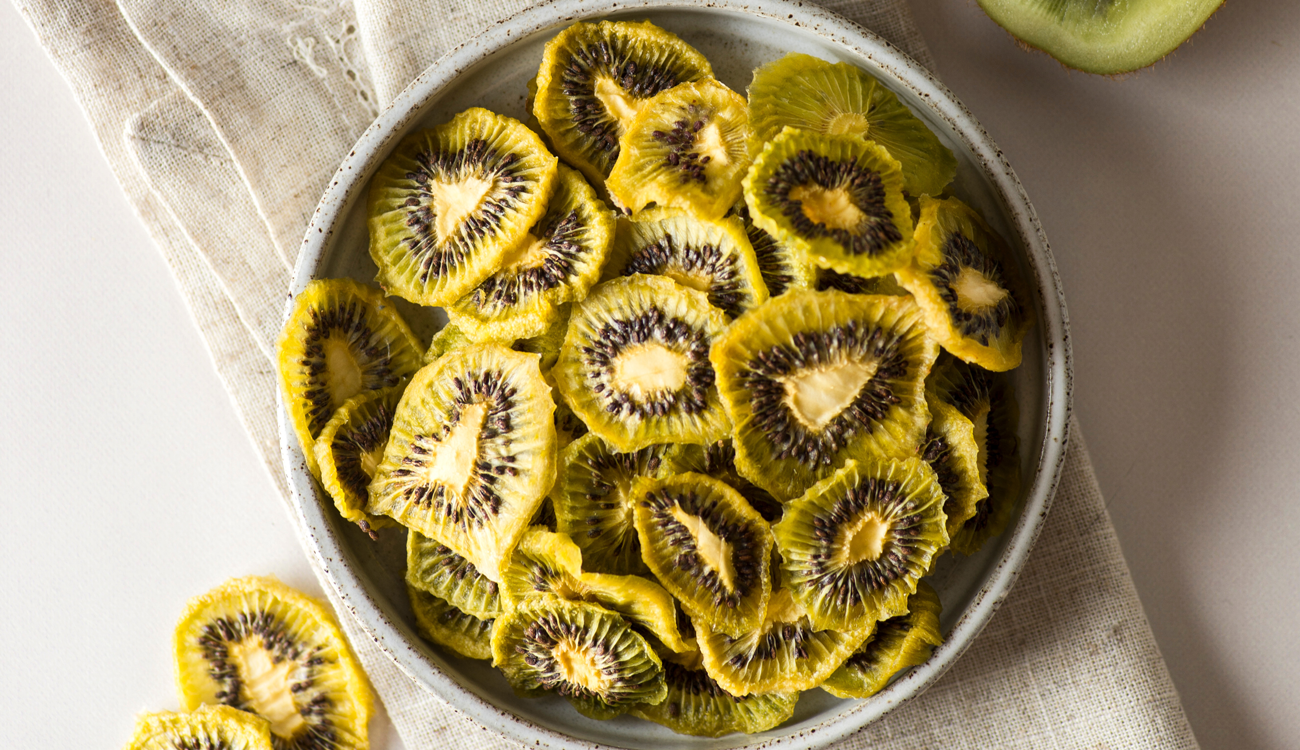
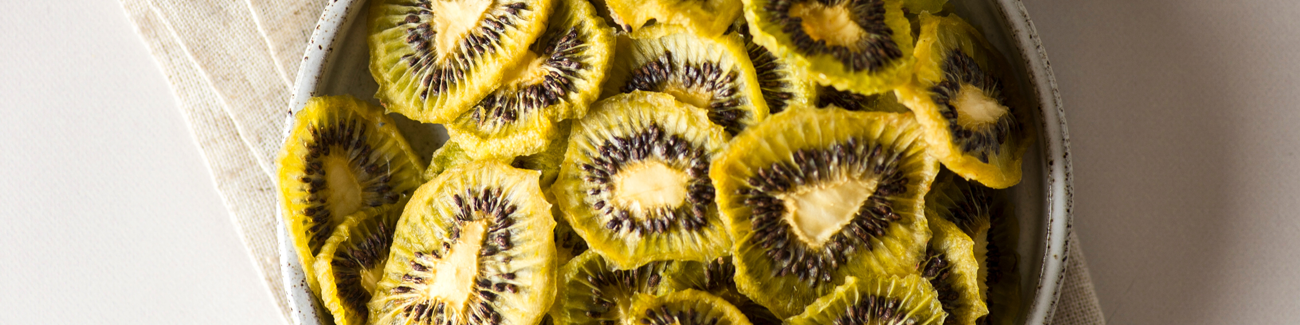
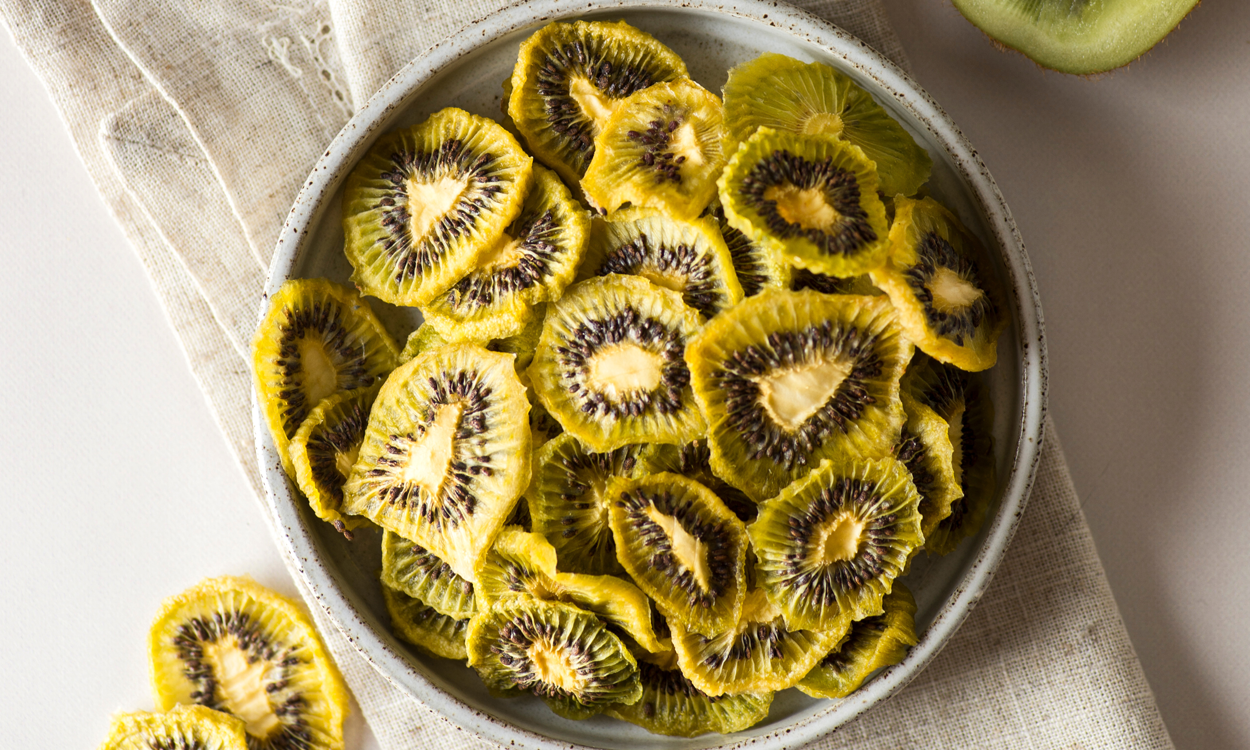
Dehydrated Kiwi Chips
These vibrant and crunchy chips are a fantastic way to enjoy the natural sweetness of kiwi fruit in a convenient and portable form. Whether you're looking for a guilt-free snack or a unique topping to enhance your dishes, these homemade kiwi chips have got you covered.
Recipe - Alberni
Dehydrated Kiwi Chips
000
Ingredients
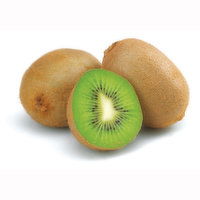
Ripe kiwi fruit
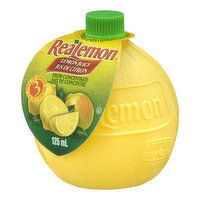
Lemon juice (optional, for preserving color)
Honey (optional, for added sweetness)
Directions
- Wash and peel the kiwi fruit: Start by washing the kiwi fruit thoroughly under cold water. Use a knife to peel the skin off the kiwi. Slice off the top and bottom of the kiwi, and then carefully slide your knife under the skin to remove it. The skin can be tough and may affect the texture of the dehydrated chips.
- Slice the kiwi: Using a sharp knife or a mandolin slicer, slice the kiwi into thin rounds. Aim for slices that are about 1/8 to 1/4 inch thick. Try to keep the slices consistent in size so that they dry evenly.
- Optional: Presoak in lemon juice: If you want to preserve the vibrant green color of the kiwi chips, you can soak the slices in a mixture of water and lemon juice (about 1 tablespoon of lemon juice per cup of water) for 5-10 minutes. This can help prevent browning during the drying process. Pat the slices dry with a paper towel after soaking.
- Optional: Sweeten with honey: If you prefer sweeter kiwi chips, you can lightly brush each slice with a thin layer of honey. This step is entirely optional and depends on your taste preferences.
- Arrange on dehydrator trays: Place the kiwi slices in a single layer on the dehydrator trays. Make sure there is some space between the slices to allow for proper air circulation and even drying.
- Dehydrate the kiwi: Set your food dehydrator to a low temperature, around 135°F (57°C), and let the kiwi slices dry for 6 to 12 hours. The drying time can vary depending on the thickness of the slices and the humidity in your area. Check the kiwi slices periodically. They are ready when they are completely dry and slightly leathery to the touch, with no moisture remaining.
- Cool and store: Once the kiwi slices are fully dehydrated, remove them from the dehydrator and let them cool completely before storing. Store the dehydrated kiwi chips in an airtight container or resealable plastic bag. If properly dried, they should be shelf-stable for several months.
- Enjoy: Dehydrated kiwi chips make a delicious and nutritious snack on their own, or you can use them as toppings for yogurt, oatmeal, or salads.
Note: You can adjust the thickness of the slices and the drying time based on your preferences and the specific model of your dehydrator. Always follow the manufacturer's instructions for your dehydrator.
0 minutes
Prep Time
0 minutes
Cook Time
0
Servings
Directions
- Wash and peel the kiwi fruit: Start by washing the kiwi fruit thoroughly under cold water. Use a knife to peel the skin off the kiwi. Slice off the top and bottom of the kiwi, and then carefully slide your knife under the skin to remove it. The skin can be tough and may affect the texture of the dehydrated chips.
- Slice the kiwi: Using a sharp knife or a mandolin slicer, slice the kiwi into thin rounds. Aim for slices that are about 1/8 to 1/4 inch thick. Try to keep the slices consistent in size so that they dry evenly.
- Optional: Presoak in lemon juice: If you want to preserve the vibrant green color of the kiwi chips, you can soak the slices in a mixture of water and lemon juice (about 1 tablespoon of lemon juice per cup of water) for 5-10 minutes. This can help prevent browning during the drying process. Pat the slices dry with a paper towel after soaking.
- Optional: Sweeten with honey: If you prefer sweeter kiwi chips, you can lightly brush each slice with a thin layer of honey. This step is entirely optional and depends on your taste preferences.
- Arrange on dehydrator trays: Place the kiwi slices in a single layer on the dehydrator trays. Make sure there is some space between the slices to allow for proper air circulation and even drying.
- Dehydrate the kiwi: Set your food dehydrator to a low temperature, around 135°F (57°C), and let the kiwi slices dry for 6 to 12 hours. The drying time can vary depending on the thickness of the slices and the humidity in your area. Check the kiwi slices periodically. They are ready when they are completely dry and slightly leathery to the touch, with no moisture remaining.
- Cool and store: Once the kiwi slices are fully dehydrated, remove them from the dehydrator and let them cool completely before storing. Store the dehydrated kiwi chips in an airtight container or resealable plastic bag. If properly dried, they should be shelf-stable for several months.
- Enjoy: Dehydrated kiwi chips make a delicious and nutritious snack on their own, or you can use them as toppings for yogurt, oatmeal, or salads.
Note: You can adjust the thickness of the slices and the drying time based on your preferences and the specific model of your dehydrator. Always follow the manufacturer's instructions for your dehydrator.